
Installing and using FileZilla (SFTP)
How to use SFTP with the Vyper Hosting gamepanel is covered in this guide. Because SFTP enables faster, bulk file transfers, this may be advantageous. It is not as simple to use as the built-in file manager in the gamepanel, though. This tutorial explains how to set up and install the well-known SFTP client FileZilla. A video can also be found at the bottom of this page.
A secure transfer option for the File Transfer Protocol (FTP) is called SSH File Transfer Protocol (SFTP). These days, most people use SFTP.
FileZilla Setup
- Navigate to the FileZilla download page at: https://filezilla-project.org/download.php
- Click on Download FileZilla Client

- Run the downloaded program and if prompted, click “Yes” on the User Account Control prompt.
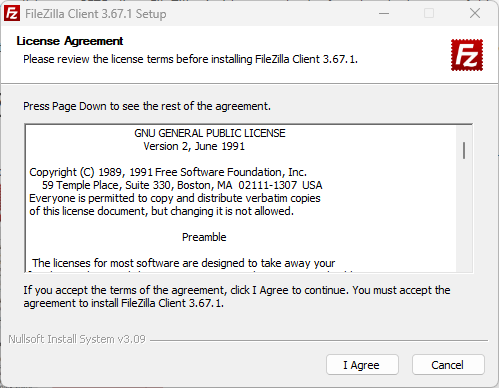
- Read the licence agreement and click on Agree.

- Decline any optional offers you may receive.
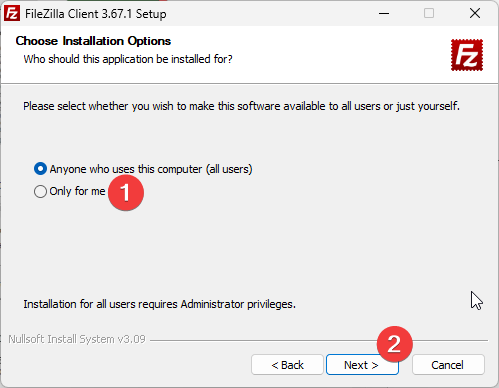
- Choose the user you would like FileZilla to be installed for and click Next.
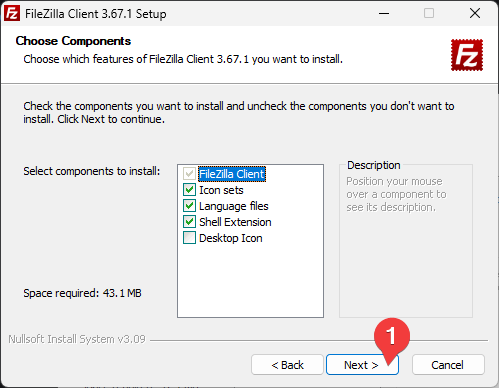
- When prompted about which components you would like to Install just click Next.
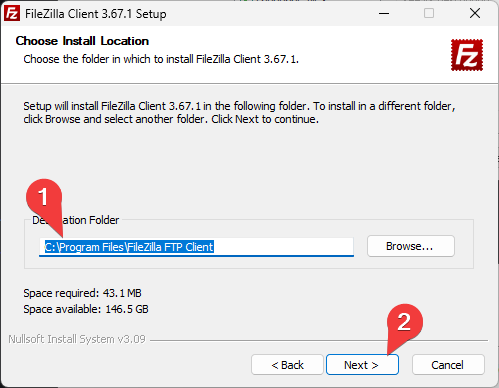
- Select a folder to install FileZilla into and click Next. Please note that changing this is not necessary.
- Click Install and wait for the process to complete.
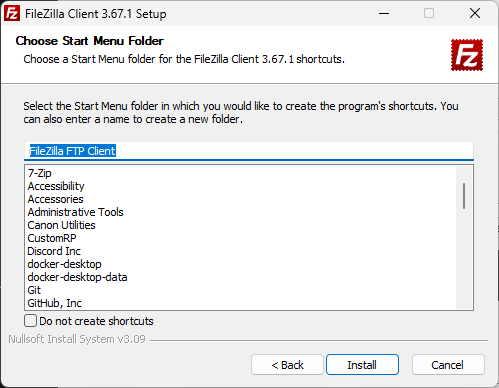
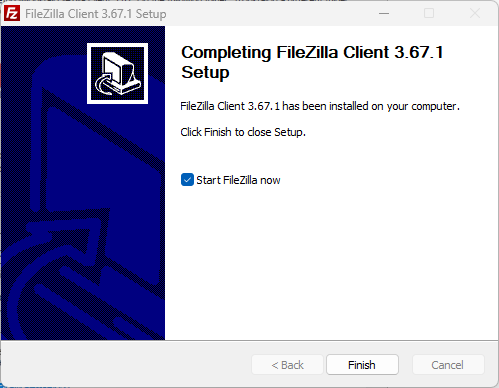
- Once installation has completed, click finish and then follow the guide below.


Connecting to your game-server
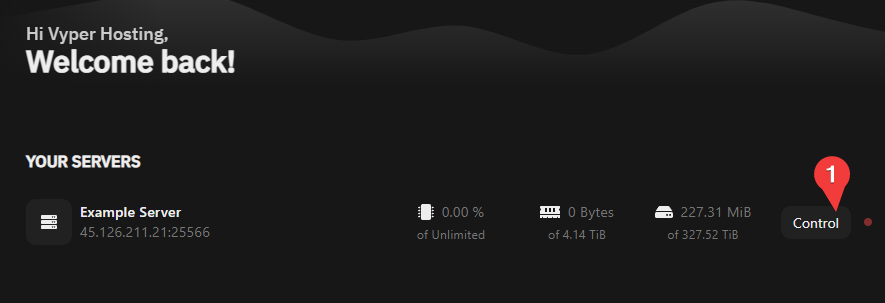
- Locate your server on our gamepanel at https://panel.vyperhosting.com
- Navigate to the settings tab and find your SFTP Details.
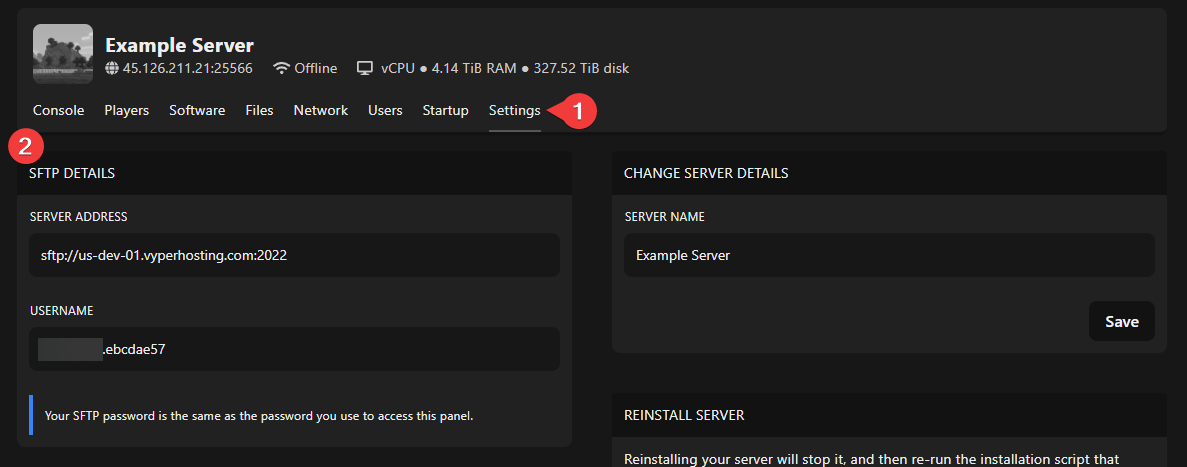
- Paste the server address into FileZilla's "Host" box after copying it.
- Paste the username into FileZilla's "Username" field after copying it.
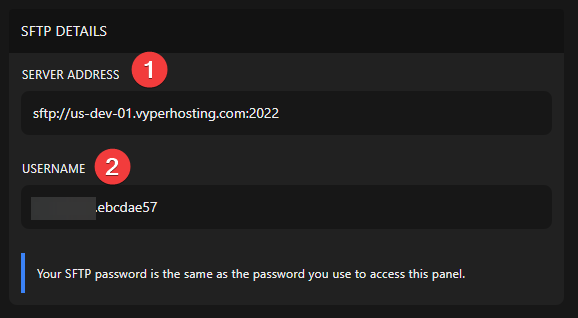

- Enter the password that you use to access Vyper Auth by entering it here.
- The port should remain empty since it will be filled in automatically.
- Click Quickconnect


Your server should now be accessible to you. Your local files should be displayed on the left, and the files from the distant server on the right. Please check your password or get in touch with us for more assistance if you are unable to view the files or notice issues in the status box.
No Comments